TL;DR
A correctly installed window should have a small, consistent gap (typically around a quarter inch to half inch, product-dependent) between the frame and the rough opening, filled with shims for support and sealant or low-expansion foam for weatherproofing. A gap that's uneven, unshimmed, or packed solid with foam alone is a sign the installation needs a second look.
What you need
Before you inspect or discuss a gap issue with a contractor, have these on hand:
- The manufacturer's installation instructions for your specific window line (gap tolerances vary by product and are set by the manufacturer and the product approval, not by general rule of thumb)
- A flashlight and a small tape measure or feeler gauge
- Access to the interior trim or exterior stucco edge where the frame meets the wall, at least at one or two spots
- Photos from before drywall or trim went back on, if you have them from a recent install
- Your permit and inspection paperwork, since rough opening sizing and shimming are items a building inspector checks
For general background on how openings get sized in the first place, see our related guide on rough opening basics and how it connects to final frame fit.
Step 1: Understand why a gap exists at all
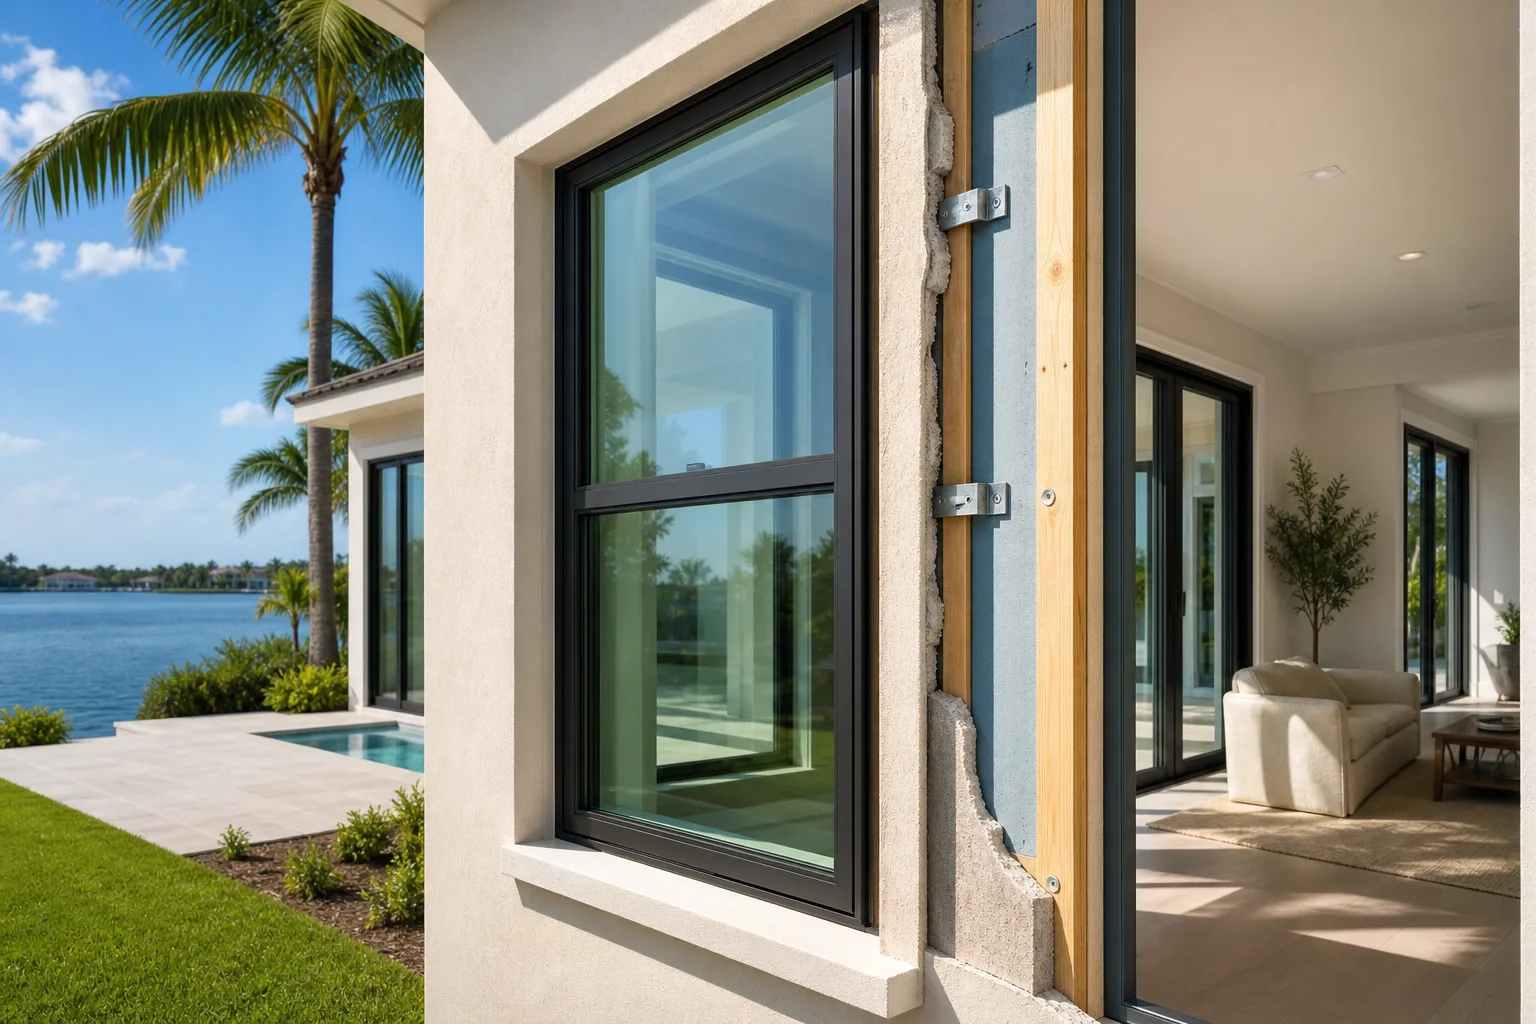
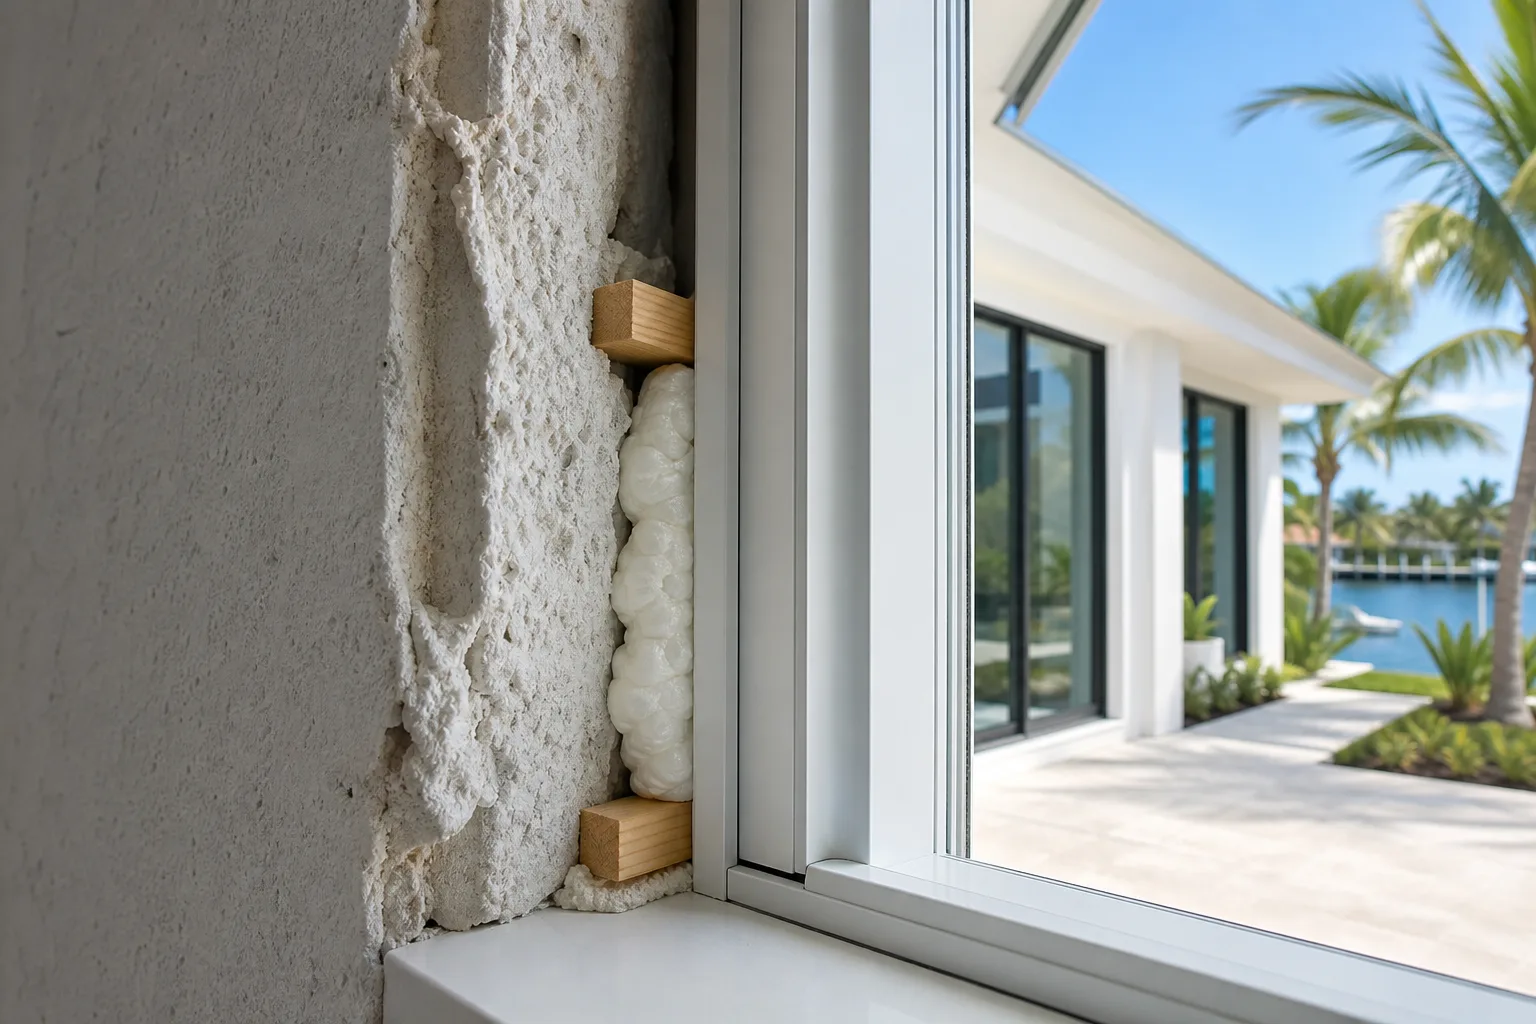
A window frame is never supposed to fit perfectly snug against a rough opening. Buildings move. Florida homes see thermal expansion and contraction, minor settling, and in a storm, real structural flex. The gap is designed space that lets the frame be shimmed level and plumb, then sealed in a way that absorbs that movement without cracking the seal or stressing the glass.
If a frame were installed wall-tight with no gap, there would be no room to correct for an opening that's slightly out of square, and no cushion for movement. That's part of why installing a window out of plumb or level causes problems down the line, the gap is often the first thing sacrificed when installers try to force a frame into a tight or irregular opening.
Step 2: Know the general range, but defer to the product spec
As a rough general range, many residential window installations use a perimeter gap somewhere between a quarter inch and a half inch on each side. This is not a universal code number. The actual required gap, shim spacing, and fastening pattern come from the manufacturer's installation instructions tied to that product's Florida product approval, and those instructions can vary by frame material, size, and impact rating.
This means two correctly installed windows from different manufacturers can have slightly different gap dimensions and both be right. What matters is that the installer followed the documented spec for that specific product, not a number pulled from memory or a different brand's manual.
Step 3: Check that the gap is consistent on all four sides
A good gap is even. Measure or visually compare the space at the top, bottom, and both sides of the frame where accessible. A gap that's wide at the top and nearly closed at the bottom usually means the frame was installed out of square or the shims weren't adjusted evenly.
Uneven gaps are one of the more common signs of a rushed installation. They don't always cause an immediate problem, but they can lead to uneven stress on the frame over time and make it harder for sealant to do its job consistently around the perimeter.
Compare impact-window options for your project. Request a free estimate
Step 4: Confirm shims are present, not just foam
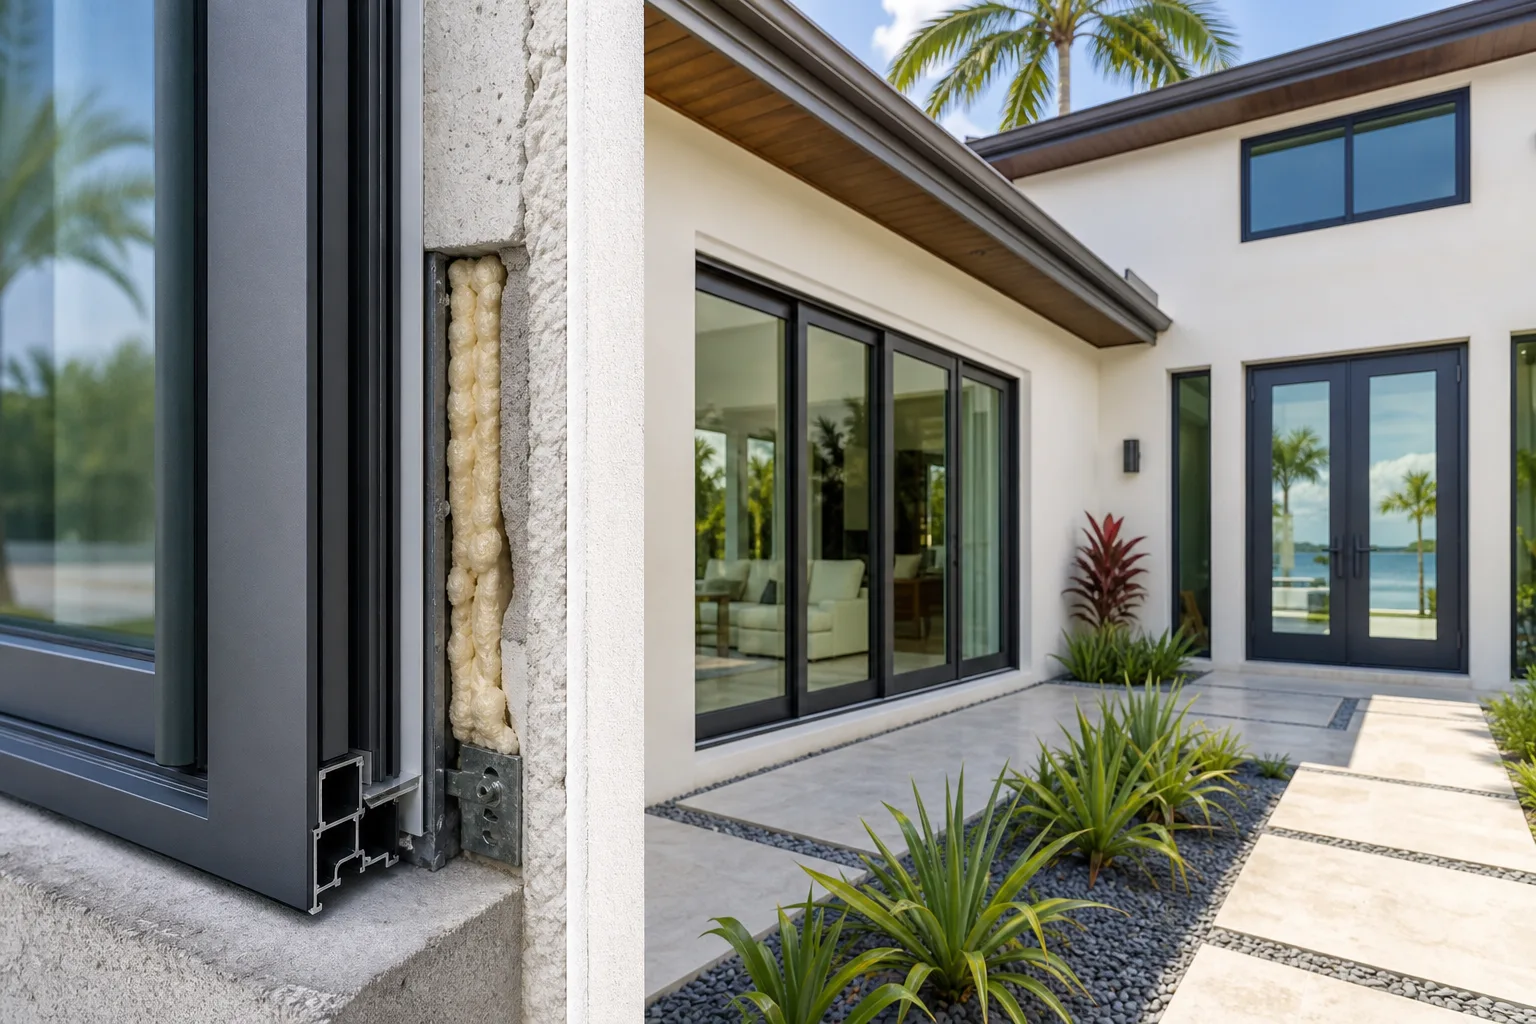
The gap should contain shims at structural load points, typically near the corners and at intervals along each side, not just expanding foam. Shims carry the physical weight and keep the frame square under pressure, especially important for larger openings or heavier impact-rated glass. Foam alone is a sealant and insulator, not a structural support.
If you can see into the gap before trim goes on and it looks like foam was sprayed in without any visible shim material, that's worth asking the contractor about directly.
Step 5: Look at what seals the gap, and in what order
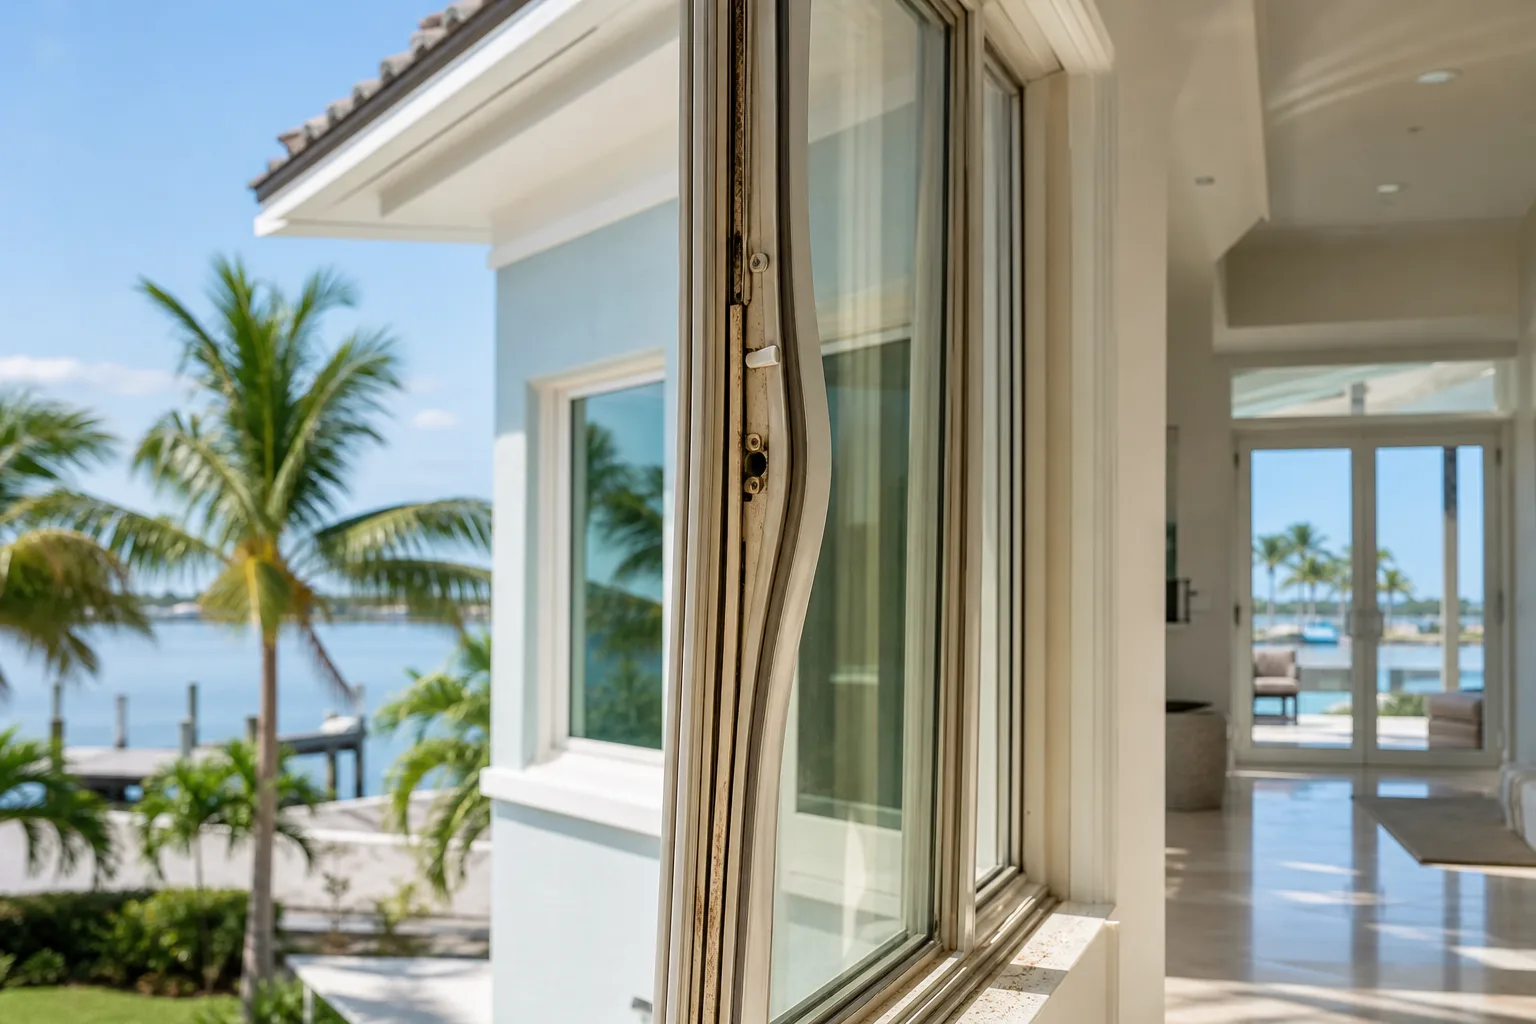
A correctly sealed gap generally has backer rod or low-expansion foam (not high-expansion foam that can bow the frame) plus a weather-resistant sealant at the visible interior and exterior joints. High-expansion spray foam pushed in without regard for frame tolerance can actually bend a frame inward, which affects both the seal and, in some cases, the window's ability to operate or perform as tested.
If you notice the frame bowing slightly inward after foam was applied, or sealant that looks cracked or gapped within the first year, flag it.
Step 6: Match what you see to your permit inspection
In Florida, window replacement projects typically go through a permitted inspection process, and rough opening and installation details, including shimming, are part of what an inspector is checking before final sign-off. If your project passed inspection, that's a reasonable (though not absolute) indicator the gap and shimming met the documented requirements for your permit.
If you're unsure what your inspection covered, your permit file through the local building department will usually list the inspection type and result.
Common mistakes
- Assuming every window needs the exact same gap width regardless of brand or size
- Confirming foam is present but never checking for shims contained in the gap
- Judging the gap only from the finished, trimmed-out look, where none of this is visible anymore
- Using high-expansion foam in a tight gap, which can bow the frame
- Not comparing gap consistency across all four sides, only glancing at the bottom
Bottom line
The gap around your window frame is a built-in, intentional space, not a flaw to eliminate. What makes it right or wrong is whether it's consistent, properly shimmed, and sealed according to the manufacturer's documented installation instructions for that specific product. If you're planning a window replacement or comparing impact windows and doors for a South Florida home, ask your contractor to walk you through their shimming and sealing process before drywall or trim goes back on. If you already have concerns about an existing installation, a straightforward next step is to request an estimate or contact us for a look at the specific condition.
Compare impact-window options for your project.
Request a written estimate that identifies the quoted assembly, opening, design pressure, product approval, exposure, installation scope, and applicable project requirements.
Frequently asked questions
Is a bigger gap around a window frame always better?
No. A bigger gap isn't automatically better or worse, what matters is that it matches the manufacturer's documented spec for that product and is properly shimmed and sealed. An oversized gap beyond spec can actually make it harder to get a stable, well-supported installation.
Can I check my window's gap without removing trim?
Usually not in detail once trim and drywall are finished, since the shimming and sealant layer is hidden. If you have concerns about an existing installation, the more practical options are reviewing your permit inspection records or having a licensed contractor assess it directly.
Does the gap size differ between impact and non-impact windows?
It can, because impact-rated products are heavier and tied to specific engineering and product approval documentation that often dictates shim placement and fastening more precisely. Always follow the installation instructions for the exact product and approval, not a generic standard.