
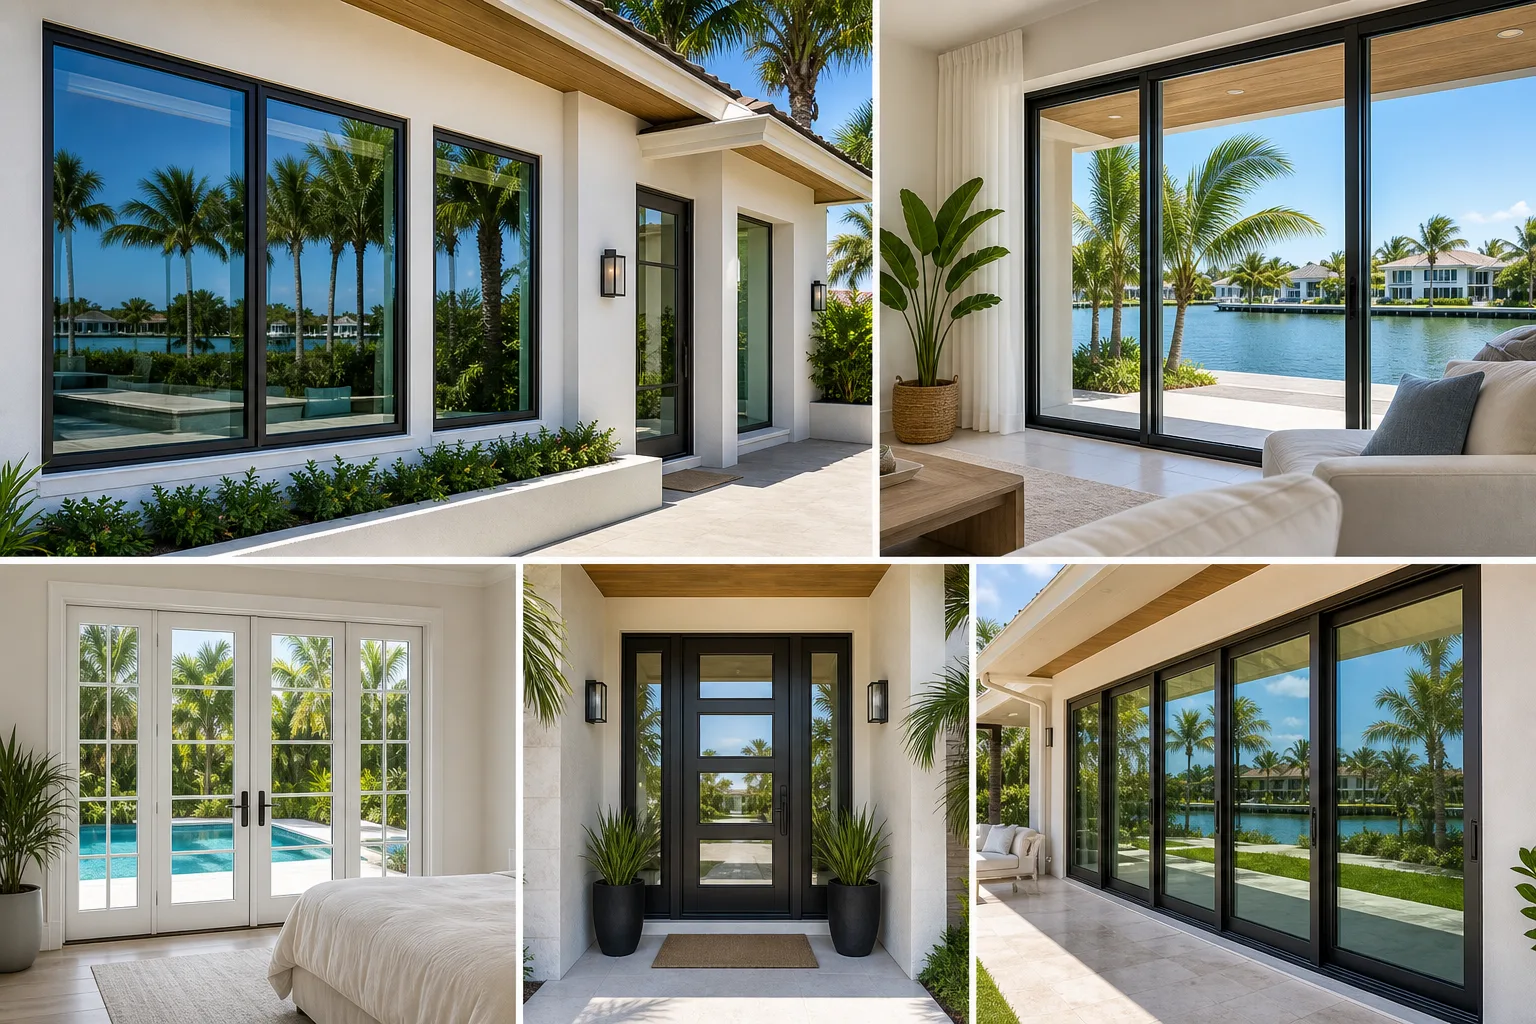
For an initial South Florida window replacement estimate, measure each opening in three places for width and height, record the smallest measurement, and send clear inside and outside photos. These measurements help identify the likely scope, but they are not a final order size, engineering determination, product approval selection, or permit document.
Impact-window installation depends on conditions that a tape measure alone cannot show, including wall construction, existing frame type, sill condition, exterior finishes, required design pressures, and the selected approved product system. A field review is required before final sizing and written scope.
What you need
Gather a reliable tape measure, not a folding ruler. A 25-foot tape with clear inch markings is usually sufficient for most residential openings. You will also need a phone or camera, a notepad or a simple worksheet, and someone to assist with larger windows or second-story locations.
Measure from a stable interior position whenever possible. Do not lean through an opening, stand on furniture, remove glass, or work from ladders just to collect estimate information. For upper floors, high-rise units, or exterior openings that cannot be safely reached, photos and accessible interior dimensions are more useful than risky measurements.
Before starting, assign every opening a location name. Examples include “front bedroom, east wall,” “family room fixed window,” or “primary bedroom, left opening.” If a room has several similar windows, include a simple sketch showing their order from left to right.
Your estimate package should ideally include:
- Width and height for every opening.
- A note identifying whether the measurement is taken inside or outside.
- Three width measurements and three height measurements when accessible.
- Photos of the full window from inside and outside.
- Close-up photos of the frame, sill, surrounding wall, and any visible damage.
- A note about the window type, such as single-hung, horizontal roller, fixed, casement, awning, picture window, or sliding glass door.
- Basic property details, including city, floor level, and whether the property is a single-family home, townhouse, condo, or commercial space.
If you are planning a broader project, note doors and windows together. That helps establish whether you may need a combined windows and doors replacement scope rather than a window-only estimate.
1. Identify the opening you are actually measuring
The first task is distinguishing the visible glass area from the frame and the building opening. The glass size is not the window size. The overall frame size may also differ from the opening behind the trim, stucco, drywall, or interior stops.
For a preliminary estimate, measure the existing window frame opening that is visibly accessible. In many homes, that means measuring from the inside edge of one existing frame jamb to the inside edge of the opposite jamb, then from the top inside frame area to the sill or bottom frame area. Write down exactly where your tape contacted the existing assembly.
Do not remove interior trim, exterior stucco, shutters, or moldings to find a rough opening. Disturbing finishes can create repair work and may conceal important flashing or attachment conditions. A contractor can evaluate concealed conditions during the project review when needed.
For openings with a full replacement planned, the eventual installation approach may involve retaining portions of the existing frame or removing the assembly to reach the original opening. The appropriate approach depends on the existing construction, product approval instructions, engineering, visible deterioration, and written project scope. Initial measurements help, but they do not decide that question.
2. Measure the width at three points
Measure the width horizontally at the top, center, and bottom of the accessible existing frame opening. Keep the tape level and pull it straight from side to side. Record each result to the nearest 1/8 inch if your tape and access allow it.
For example, your worksheet might show:
- Kitchen, north wall: width top 35 7/8 inches.
- Kitchen, north wall: width center 35 3/4 inches.
- Kitchen, north wall: width bottom 35 13/16 inches.
Do not average those numbers or round them up to the nearest whole inch. Mark the smallest width and retain all three readings. A difference between measurements can indicate an opening that is not square, a bowed frame, interior trim interference, or simple measurement variation. It is useful information for an estimator.
If you can measure only one location because blinds, security devices, furniture, or fixed interior treatments block access, record one dimension and note the limitation. A clear photo showing the obstruction is helpful.
Bay windows, bow windows, radius units, corner windows, and mulled or joined assemblies need more than a basic width and height. Measure each visible unit separately if possible, photograph the full assembly, and identify the joints between units. These conditions need project-specific review before a reliable final scope can be established.
3. Measure the height at three points
Next, measure vertically at the left side, center, and right side of the same accessible opening. Place the tape at the top of the existing frame or accessible upper jamb and measure down to the sill or lower frame surface. Keep your reference points consistent across all three measurements.
Record the three measurements separately, then identify the smallest height. Again, do not average measurements and do not subtract a standard allowance on your own. Product sizing clearances and installation details are determined from the selected system and site conditions, not from a universal homeowner deduction.
Be especially careful at the sill. Some windows have sloped sills, stone or tile returns, interior stool trim, or a raised track. A sliding window or door may have multiple tracks, and measuring to the wrong track can materially change the number. Take a close-up sill photo with the tape removed so the condition is easy to see.
If water staining, soft wood, cracked masonry, loose stucco, damaged drywall, or corrosion is visible around the lower area, note it. Do not assume it is a simple cosmetic issue or that it will remain outside the replacement scope. The cause and extent of deterioration require site evaluation.
4. Check whether the opening appears out of square
A quick diagonal check can make your estimate information more useful. Measure from the upper-left inside corner of the accessible frame to the lower-right corner. Then measure from the upper-right corner to the lower-left corner. Record both dimensions.
If the diagonals differ, do not try to correct the opening yourself. Existing homes often have openings that are not perfectly square, and the difference may be minor or may warrant closer review. Your notes help the estimator understand that final sizing should account for the condition.
Also look along the jambs and sill for visible bowing, movement, separation, or patching. Photograph what you see. This is particularly relevant in older replacements where a new unit may have been installed within an earlier frame, making the visible opening smaller than the original construction opening.
A square-looking interior opening does not confirm that the exterior masonry, concrete block, wood framing, or substrate is suitable for a particular installation method. Final attachment, sealant, flashing, and structural decisions must follow the applicable product approval, engineering where required, permit requirements, and written scope.
5. Record the existing window type and operating direction
Dimensions alone do not tell an estimator how a window operates or how the existing frame is configured. Take a moment to identify the basic style.
For a single-hung window, note whether the lower sash moves and whether it tilts inward. For a horizontal roller, note which panel moves when viewed from inside. For casement and awning windows, identify the hinge side or whether the sash is top-hinged. For fixed windows, note that the glass does not operate.
Photograph the entire unit closed, then take a second photo with it open if it operates safely. Include close-ups of locks, handles, crank operators, tracks, screens, and any attached alarm contacts. These details can affect removal work, finish repairs, and the product options that make sense for the project.
If you are considering hurricane impact windows, do not select a final style based only on the old window’s appearance. Ventilation needs, egress considerations, interior furnishing clearance, exterior exposure, and the available approved configurations all matter. The specific product and approval must be reviewed for the project location and opening.
Compare impact-window options for your project. Request a free estimate
6. Photograph the opening from inside and outside
Photos often answer questions a measurement sheet cannot. For every opening, take at least four useful images:
- A straight-on interior photo showing the whole window and surrounding wall.
- A straight-on exterior photo showing the whole window and surrounding finish.
- A close-up of the interior sill and lower corners.
- A close-up of the exterior perimeter, including stucco, trim, brick, siding, stone, or other finish.
Where accessible, add photos of the head above the window, side jambs, drainage paths, shutters, security bars, window treatments, exterior lighting, outlets, landscaping, and anything that might affect access. If there is a nearby roof overhang, balcony, screen enclosure, railing, or air-conditioning equipment, include it in a wider exterior photo.
For condos, photograph the balcony side and note the unit floor. Condominium associations may have separate approval processes, work-hour rules, elevator requirements, staging limitations, exterior appearance standards, and insurance documentation requests. Those requirements vary by building and should be confirmed before final scheduling.
Do not rely on a photo of a tape stretched across an opening as the only documentation. It can be difficult to read and may hide the tape’s starting point. A written measurement list paired with condition photos is clearer.
7. Note construction, access, and scope questions
Add brief notes about anything unusual. Useful examples include “exterior is painted stucco,” “interior has marble sill,” “security bars at rear bedroom,” “window is behind plantation shutters,” “second floor above tile roof,” or “opening is within a screened patio.”
Also identify items that may need coordination. These can include alarm sensors, cameras, blinds, shades, shutters, decorative trim, exterior shutters, window film, pool enclosures, and furniture that cannot easily move. An estimate is more useful when access constraints are known early.
South Florida homes can have concrete block walls, wood framing, poured concrete, mixed additions, and prior replacement work. Do not guess at the wall type based only on a finished interior surface. If you know the construction from plans or prior permitted work, provide that documentation. Otherwise, describe only what you can see and let the project review determine the relevant conditions.
For commercial properties, openings may involve storefront systems, larger glazing assemblies, tenant coordination, and building-specific requirements. Use a commercial-specific inquiry through our commercial services page rather than treating the work like a standard residential window measurement exercise.
8. Prepare a clean measurement sheet for your estimate request
Create one line per opening. A practical format is: location, type, width top/center/bottom, height left/center/right, diagonals if measured, interior or exterior reference point, and notes.
For example:
| Location | Type | Width | Height | Notes |
|---|---|---|---|---|
| Living room, front | Fixed | 59 3/4, 59 5/8, 59 3/4 | 47 7/8, 47 3/4, 47 13/16 | Interior frame measurement. Stucco exterior. |
| Bedroom 2, west | Single-hung | 35 7/8, 35 3/4, 35 13/16 | 59 1/2, 59 3/8, 59 1/2 | Screen present. Alarm contact at lower right. |
Include your city, ZIP code, property type, and the number of openings. State whether you are replacing all windows or only selected units. If doors are included, list them separately because their sizes, thresholds, operation, and wall conditions need their own review. Information about hurricane impact doors can help you identify the door types you want to discuss.
Then submit the worksheet and photos through the request an estimate page. If you have a question about what to photograph or how to label an unusual opening, use the contact page before taking unnecessary risks or removing finishes.
9. Understand what the estimate-stage measurement can and cannot confirm
Homeowner measurements help establish a preliminary quantity, approximate size range, and likely replacement needs. They can also help identify obvious scope questions before a site visit. That is valuable, particularly when several openings are involved.
They cannot independently confirm final unit sizes, impact ratings, design pressures, wind zone requirements, egress compliance, structural conditions, substrate capacity, anchoring, water-management details, permit requirements, or code compliance. Those items depend on the exact property, product, approved installation instructions, engineering when applicable, and local permitting review.
In Florida, a window or door installation may involve product approval documentation and project-specific selection of approved components and installation details. The relevant documentation should match the exact product configuration and written scope. Do not assume a label, a neighbor’s installation, an online listing, or a general product claim applies to your opening.
A final proposal should clearly describe what is included and identify assumptions or exclusions. Review the proposed products, opening quantities, installation approach, permits if included, finish work, disposal, scheduling expectations, warranty terms, and any owner or association responsibilities. Ask for clarification before approving a scope that does not match your understanding.
Common mistakes
Measuring the glass instead of the frame opening. Glass dimensions are normally much smaller than the overall assembly. Measure the accessible frame opening and identify your reference point.
Taking only one width and one height. Openings can vary from top to bottom or side to side. Three measurements in each direction provide a much better preliminary picture.
Rounding aggressively. Write the actual tape reading, preferably to the nearest 1/8 inch. Avoid converting a 35 7/8-inch opening into “about three feet.”
Subtracting clearance on your own. There is no universal deduction that produces a correct order size. Clearances depend on the product, installation method, opening condition, and approved details.
Forgetting the location label. A list of dimensions without room names is difficult to use. Label each opening consistently in both your notes and photos.
Skipping exterior photos. Exterior finish, accessibility, obstructions, and existing trim can materially affect the scope. A measurement sheet without photos leaves important questions unanswered.
Assuming all similar windows are identical. A house may have visually similar units with different heights, sill conditions, frame depths, or operating panels. Measure and photograph each opening unless a qualified review confirms they match.
Removing trim or damaging finishes to investigate. Do not create extra repair work simply to obtain a preliminary estimate measurement. Document visible conditions and let the site review determine what further investigation is appropriate.
Treating an estimate measurement as a permit-ready measurement. Final project documentation requires review of the exact property and chosen product system. Preliminary numbers are a starting point, not a construction instruction.
Bottom line
Measure each accessible window opening at the top, center, and bottom for width, then at the left, center, and right for height. Record the smallest readings without making your own deductions, label every opening, and pair the list with clear interior and exterior photos.
That information can make an estimate request more efficient for a window replacement project in Palm Beach, Broward, Miami-Dade, Martin, or St. Lucie County. Final sizes, products, approvals, engineering, permits, installation details, insurance requirements, and warranty terms must be verified for the exact written project scope after project-specific review.
Compare impact-window options for your project.
Request a written estimate that identifies the quoted assembly, opening, design pressure, product approval, exposure, installation scope, and applicable project requirements.
Frequently asked questions
Should I measure from the inside or outside of a window?
For a preliminary estimate, measure the accessible existing frame opening from inside and clearly state that the dimensions are interior measurements. Exterior photos are still important because the outside finish, access, and surrounding conditions can affect the installation scope. Final measurements require project-specific site review.
Do I use the smallest window measurement when requesting an estimate?
Record all three width and height measurements, then identify the smallest reading in each direction. Do not subtract clearance or convert that number into a final window order size. Final sizing depends on the selected product system, opening condition, and installation details.
Can I measure only the glass for a replacement window estimate?
Glass measurements are not sufficient because they do not show the overall frame or accessible opening size. Measure the existing frame opening where possible and provide photos of the complete unit. If access is limited, send what you can safely document and note the limitation.
What photos should I send with window measurements?
Send a full straight-on photo from inside and outside, plus close-ups of the sill, lower corners, and exterior perimeter. Include photos of damage, shutters, security bars, alarm contacts, trim, or obstructions. These images help identify questions that dimensions alone cannot answer.
Are homeowner measurements enough to order impact windows?
No. Homeowner measurements are useful for an initial estimate, but they cannot confirm final unit sizes, product approval applicability, design pressures, anchoring, engineering, permits, or code-related requirements. Those items must be verified for the exact project scope after a site review.