
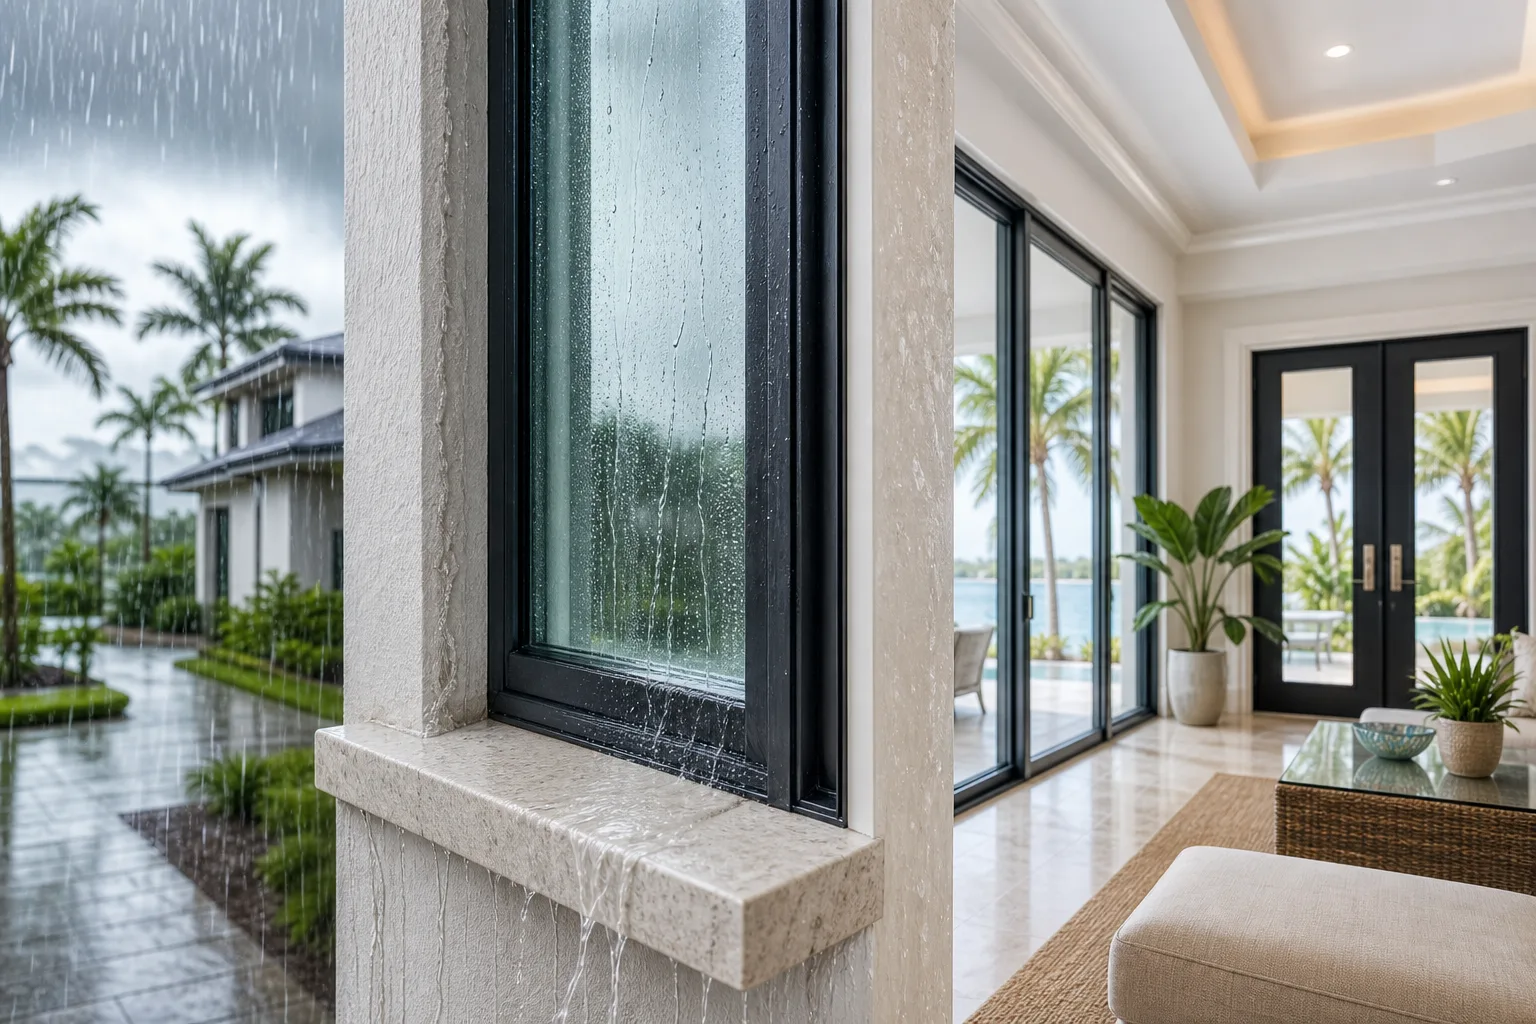
TL;DR
If water is coming in around a window during a storm, protect the interior first, then figure out whether the leak is coming from the frame, the wall, or a failed seal. Document everything with photos and video before you clean up, because that record matters for repairs and any insurance conversation. Once the rain stops, get a licensed contractor to inspect the opening rather than just caulking over a symptom.
What you need
Before you start troubleshooting, gather a few basic things. You do not need special tools for the first response, just materials to contain water and a way to document the damage.
- Towels, a shop vac, and a bucket or two
- Painter's tape or a marker to flag where water is entering
- A phone camera for photos and short video clips
- A flashlight to check tracks, weep holes, and the base of the frame
- Contact information for a Florida-licensed window contractor and, if applicable, your homeowner's insurance agent
If you live in a condo or HOA community, also have your building's maintenance contact on hand, since the leak's source (unit window versus building envelope) can affect who is responsible for the repair.

Step 1: Protect the interior first
Your first job is damage control, not diagnosis. Move furniture, rugs, and electronics away from the window. Lay down towels or a shallow container to catch dripping water, and use a shop vac if standing water is accumulating on the sill or floor. If water is running down the wall, check for it tracking behind baseboards or into an adjacent closet, since drywall and insulation can absorb a surprising amount of water before it's visible.
Do not attempt to seal the leak from outside during active heavy rain or lightning. Waiting until conditions are safe is not a delay tactic, it's basic safety.
Step 2: Identify where the water is actually coming from
This is the step most homeowners skip, and it's the reason a lot of caulk jobs fail. Water intrusion around a window can come from several different points, and each one points to a different problem:
- Top corners of the frame: often a sign of a failed sealant joint between the window and the exterior wall, or a flashing issue above the opening.
- Bottom of the frame or sill: could be a clogged weep hole (the small drainage channels built into most window systems), or water pooling because the sill pan or exterior caulking has degraded.
- Around the operable sash itself: may indicate a worn weatherstrip or gasket, which is common on older aluminum single-hung or sliding windows.
- Corners of the glass: can point to a failed seal on an insulated glass unit, though that usually shows as fogging rather than active water, so treat any wet glass corner as more urgent.
- Through the wall a foot or more from the window: this may not be a window problem at all, it could be a stucco crack, a roof or soffit issue, or a plumbing line, so don't assume the window is the source just because water shows up nearby.
Use your flashlight and a dry paper towel to trace the wet path back to its origin while it's actively raining, if you can safely observe from inside. Note whether the leak tracks with wind direction, since wind-driven rain hitting a specific side of the house is a classic sign of a sealant or flashing failure rather than a product defect.
Step 3: Document everything before you clean up
Take photos and short videos of the active leak, the water on the floor or sill, and any staining on drywall, trim, or flooring. Note the date, time, approximate rainfall intensity, and wind direction if you know it. This record matters for two reasons. First, if you end up filing an insurance claim, adjusters want to see when the damage started and whether it was sudden versus long-term neglect. Second, if you call a contractor for a repair estimate, this documentation helps them diagnose the problem faster instead of guessing based on a dry frame days later.
If you've had this same window leak before, note that too. Recurring leaks around the same opening usually mean the original repair addressed a symptom, not the root cause, and that pattern is worth mentioning if you request an estimate for a permanent fix.
Step 4: Try a temporary, safe mitigation only if needed
Once the rain lets up, and only if water is still actively pooling, you can place a towel roll along the interior sill to redirect drips into a container, or use painter's tape to hold a small piece of plastic sheeting over an obviously cracked pane as a stopgap. These are temporary measures meant to limit interior damage for a day or two, not a fix. Do not apply exterior caulk, spray foam, or silicone over a wet or actively leaking joint. Sealant applied over moisture typically fails to bond properly and can trap water inside the wall assembly, which often makes the underlying damage worse.
Review opening-protection options before storm season. Request a free estimate
Step 5: Inspect (or have someone inspect) the weep holes and drainage path
Many aluminum and vinyl window frames rely on weep holes at the base of the frame to drain water that gets past the outer seal during wind-driven rain. These small openings are easy to overlook and easy to block with paint, caulk, dirt, or insect nests. If your window has visible weep holes on the exterior sill and they appear blocked, gently clearing debris with a thin, non-metal tool can sometimes resolve minor pooling. If you're not sure whether your window even has weep holes, or you can't safely access the exterior, this is a good moment to call a professional rather than guess.
Step 6: Call a licensed contractor for an inspection, not just a caulk gun repair
Once you've stabilized the interior and identified roughly where the water is coming from, schedule an inspection with a Florida-licensed contractor. A proper inspection typically checks:
- Whether the exterior sealant joint has failed and needs to be cut out and replaced (not just caulked over)
- Whether flashing above or beside the window is intact
- Whether the frame itself has shifted, warped, or corroded, which is more common in coastal salt-air environments
- Whether the insulated glass seal has failed, since a failed seal can sometimes coincide with water tracking at the glass edge
- Whether the weep system and sill pan are functioning as designed
In many South Florida homes, especially those with original aluminum single-hung or sliding windows from the 1980s and 1990s, a recurring leak is often the first visible sign that the window's frame, hardware, or seals have reached the end of their service life. If that's the case, a contractor may walk you through options ranging from a targeted repair to full window replacement, and for homes near the coast, hurricane impact windows are worth discussing since they're installed with updated flashing and sealant details that current building code requires.
Step 7: Decide between repair and replacement
Not every leak means you need new windows. A single failed sealant joint on an otherwise sound frame is often a straightforward repair. But consider replacement if any of the following apply:
- The leak has recurred more than once at the same window despite prior sealant repairs
- The frame shows visible corrosion, pitting, or you can flex it by hand
- The window is original to a home built before the mid-2000s and has never been upgraded
- You're already planning to upgrade windows and doors for wind protection or insurance documentation purposes
A contractor can give you a realistic assessment based on the actual condition of the frame and wall opening, not just the visible leak. If you're evaluating your whole home's exposure, our guide on signs it's time to replace windows in Florida covers other indicators worth checking at the same time.
Step 8: Loop in your insurance company if damage occurred
If water caused visible damage to drywall, flooring, insulation, or personal property, contact your insurance agent or carrier before you make permanent repairs. Coverage for water intrusion around windows varies significantly by policy, by whether the cause is classified as sudden storm damage versus gradual wear, and by your specific carrier's language. This is not something we can promise coverage for. Bring your photos, video, and the date of the storm event, and ask the adjuster directly whether the cause of loss is covered before you commission repair work, since some carriers want to inspect before repairs begin.
Common mistakes
- Caulking over a wet or actively leaking joint. Sealant needs a dry, clean surface to bond. Applying it over moisture usually fails within one storm cycle and can trap water inside the wall.
- Assuming every leak is a window defect. Roof, soffit, stucco cracks, and even plumbing lines can mimic a window leak. Tracing the actual path before repairing saves money and prevents repeat visits.
- Ignoring weep holes. A blocked weep hole is one of the most common and cheapest-to-fix causes of window sill pooling, yet it's frequently missed because it's not obvious from inside the house.
- Waiting until the next storm to call someone. Leaks tend to get worse, not better, especially with repeated wind-driven rain events during hurricane season. A small leak addressed early is almost always cheaper than one that's caused hidden wall or subfloor damage.
- Skipping documentation. Homeowners who clean up first and photograph later often struggle to establish when damage occurred, which can complicate an insurance conversation.
- DIY sealing on impact-rated or code-compliant windows. Altering the sealant or flashing on a permitted impact window installation without a licensed contractor can affect the product warranty and the wind-load performance the installation was engineered for.
Bottom line
A leak around a window during heavy rain is stressful, but the response is straightforward: protect the interior, trace the water to its actual source, document what you see, and avoid quick fixes that trap moisture. Once the storm passes, a licensed contractor can tell you whether you're looking at a simple sealant repair or a sign that the window itself has reached the end of its useful life. If you're in Palm Beach, Broward, Miami-Dade, Martin, or St. Lucie County and want a straight answer about what's causing a recurring leak, contact us to schedule an inspection, or request an estimate if you're already leaning toward replacement.
Review opening-protection options before storm season.
The performance and responsibilities for permits, engineering, documentation, installation, and inspections depend on the exact assembly and written project scope.
Frequently asked questions
Why does my window only leak during heavy rain with wind?
Wind-driven rain pushes water into gaps that ordinary rainfall does not reach, so a sealant joint or weatherstrip that seems fine most of the time can leak only when wind and rain combine from a specific direction. This is one of the most common patterns reported with aging window installations in South Florida.
Is a leaking window covered by homeowner's insurance?
It depends on your specific policy and whether the carrier classifies the cause as sudden storm damage or gradual deterioration from wear. Coverage varies significantly by policy language and carrier, so contact your insurance agent directly with your documentation before assuming coverage either way.
Can I just caulk the outside of the window myself to stop a leak?
You can for a very minor, clearly identified gap on a dry day, but caulking over an active or recently wet leak usually fails quickly and can trap moisture inside the wall assembly. For recurring leaks or anything involving an impact-rated window's warranty, a licensed contractor should handle the repair.
How do I know if the leak is from the window or the roof?
Trace the wet path as far back as you can during the storm, since water from a roof or soffit leak often travels along framing before it appears near a window opening, making the window look like the source when it isn't. A licensed contractor can usually distinguish window intrusion from roof or wall intrusion during an inspection.
Do all windows have weep holes, and where are they located?
Most modern aluminum and vinyl window frames include weep holes along the bottom exterior of the frame to drain water that gets past the outer seal, but the exact design varies by manufacturer and window type. If you're unsure whether your windows have them or can't locate them, a contractor can check during an inspection.
Should I replace just the leaking window or consider the whole house?
That depends on the age and condition of your other windows, not just the one that's leaking. If your windows are all roughly the same age and one has already failed, it's worth asking a contractor to assess the rest during the same visit, since windows and doors replacement projects are often more efficient when planned together rather than window by window.