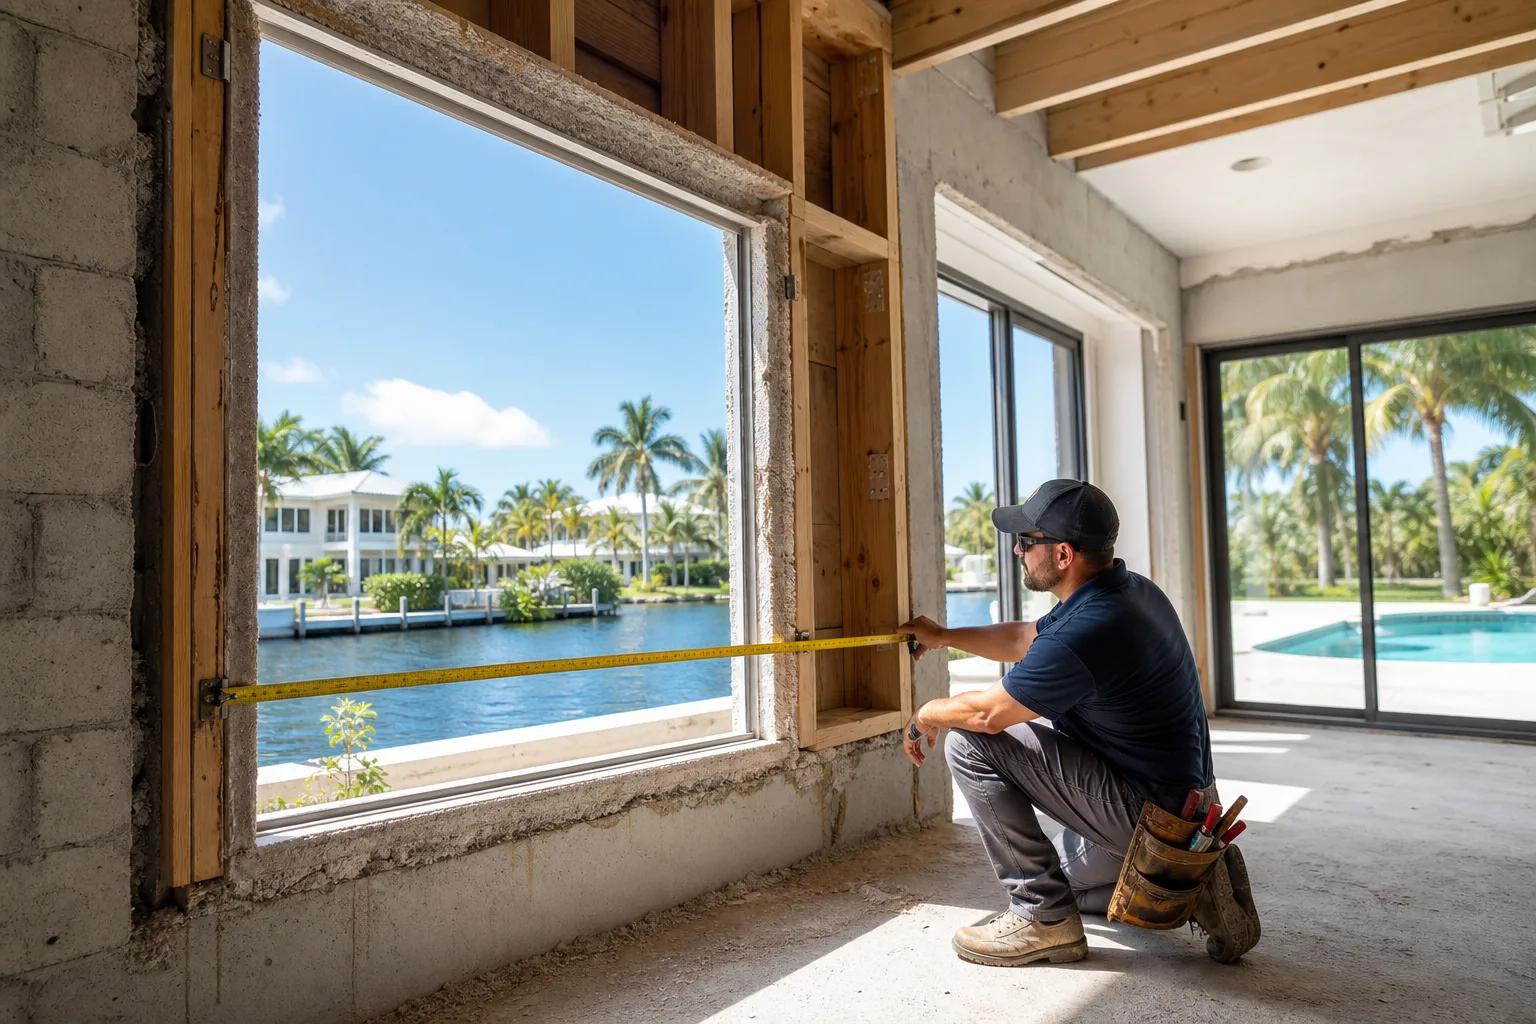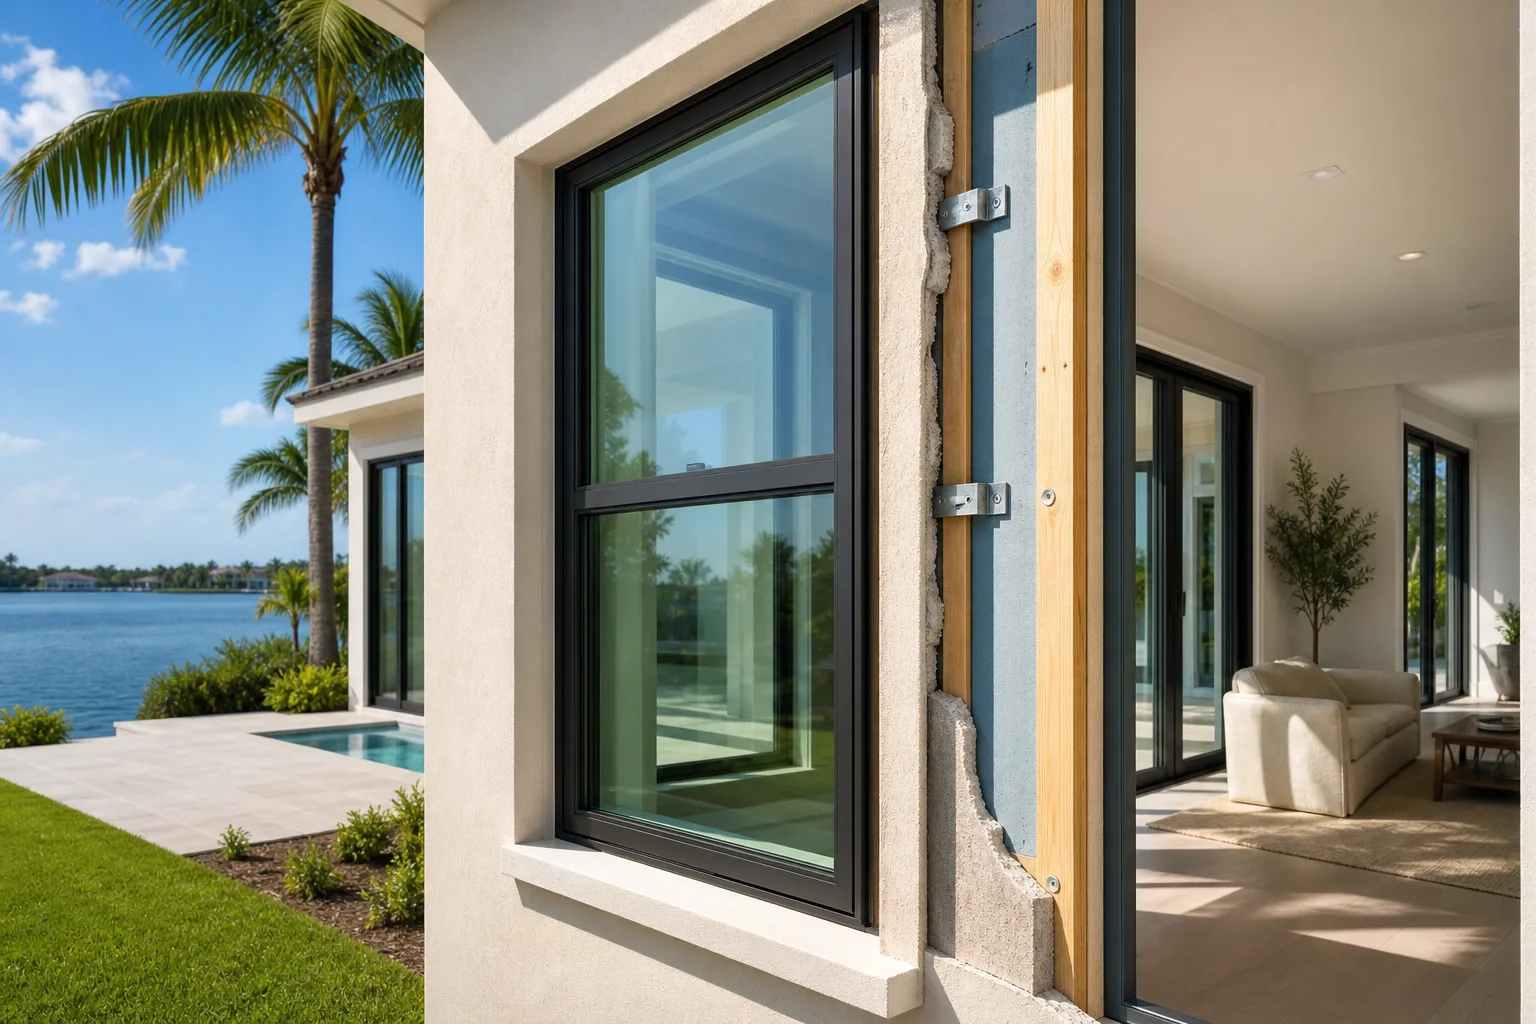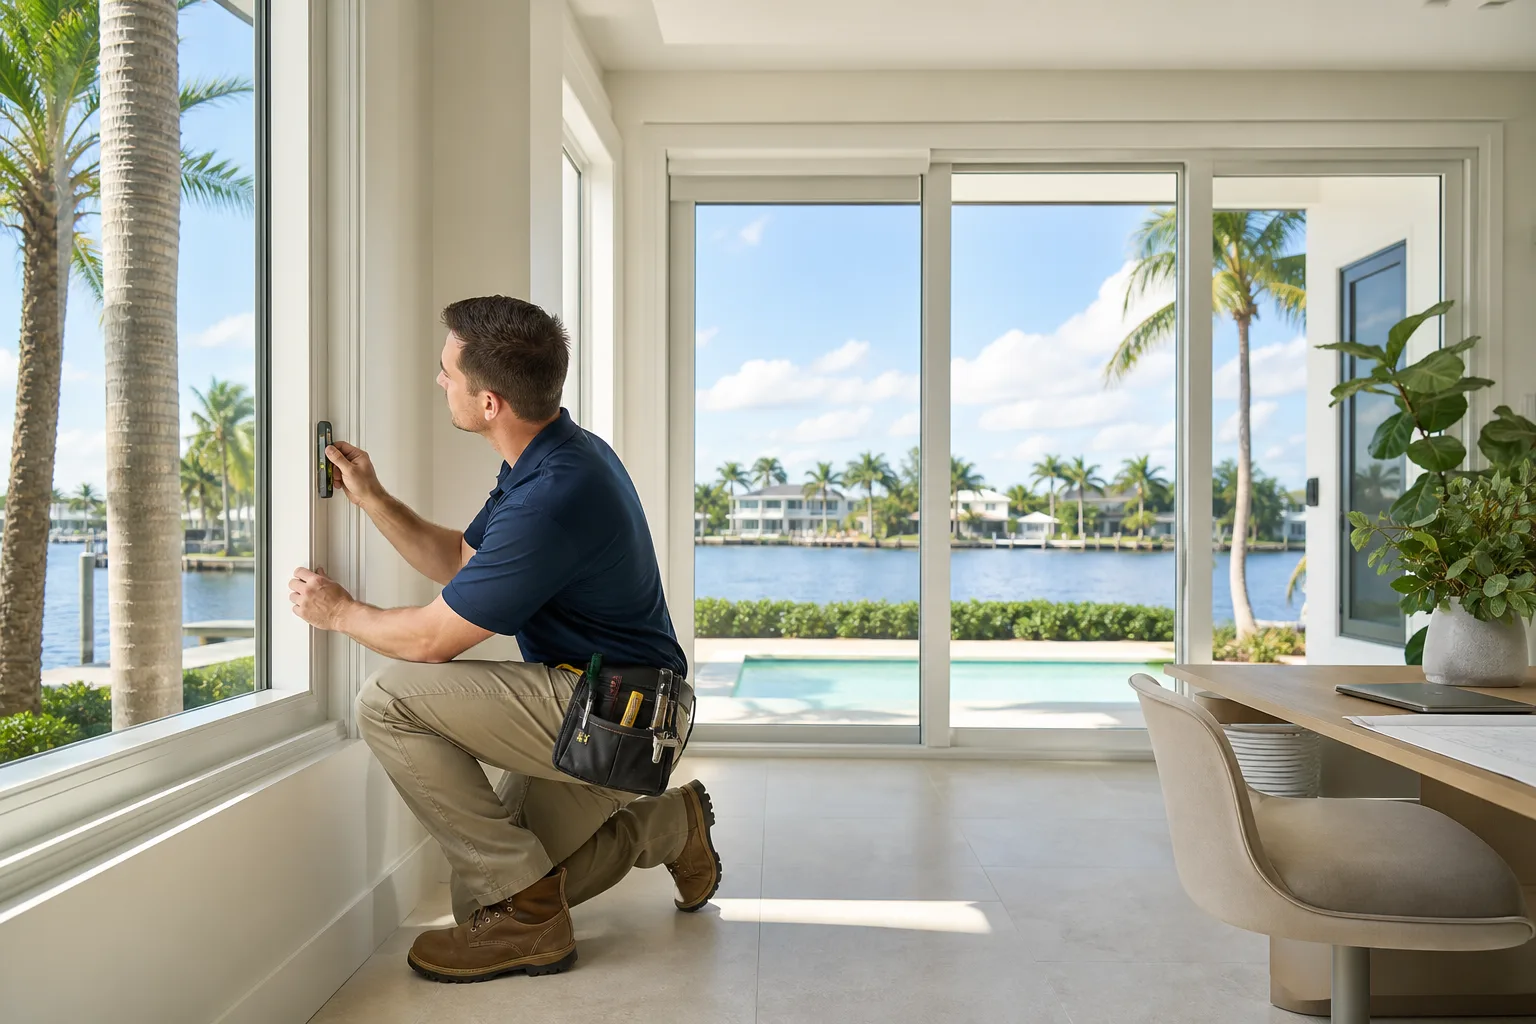
TL;DR: A rough opening inspection checks the structural substrate, dimensions, moisture condition, and surrounding wall assembly before an impact window or door is installed. Problems found at this stage are far cheaper to fix than problems found after the product is set and sealed. In South Florida's humid, coastal climate, what you find in the opening often changes the installation plan.
What You Need
- A tape measure and level
- A moisture meter rated for concrete, masonry, and wood
- A bright flashlight or work light
- A flat bar or probe for checking substrate integrity
- The approved shop drawings or product approval documentation for the window being installed
- The permit-approved plans if a permit has been pulled
For project-specific structural questions, a licensed contractor or engineer review is required. General education below does not substitute for that review.
Step 1: Confirm the Rough Opening Dimensions Against the Ordered Product
Measure the opening width and height at three points each: top, middle, and bottom for width; left, center, and right for height. The smallest measurement governs. That number must accommodate the frame size of the product ordered, plus the specified clearance called out in the product approval or installation instructions.
If the opening is too small, the frame cannot be shimmed into compliance. If it is too large, the buck or frame extension must be addressed before installation proceeds.
This is the step that catches ordering errors before the window arrives on site. A mismatch found here is corrected by re-ordering or adjusting the opening. A mismatch found after the window is set requires removal and re-installation, which multiplies labor cost. See 9 details to review before approving window shop drawings for what to confirm on drawings before the order is placed.
Step 2: Check Squareness and Plumb
A rough opening that is not square or plumb will transfer those defects into the installed frame. Measure corner to corner diagonally in both directions. If the two diagonal measurements differ by more than the product manufacturer's stated tolerance (verify in product-specific installation instructions), the opening needs correction before the frame goes in.
Check plumb on the jamb legs with a level. Out-of-plumb jambs are common in older CBS (concrete block structure) construction and in wood-frame homes that have settled. Shimming can compensate for minor variation, but shimming beyond the product's specified limits is not a compliant installation.
Step 3: Inspect the Substrate for Structural Integrity
The substrate is what the frame will be anchored into. In South Florida, that is typically concrete masonry, concrete block, poured concrete, or wood framing with or without a buck. Each substrate has different fastener requirements, and each can fail in ways the surface does not immediately show.
Probe the block or mortar joints with a flat bar. Spalled block, eroded mortar, or delaminated concrete must be documented and repaired before anchors are set. Anchors set into compromised substrate will not achieve the pullout values required by the product's Florida Product Approval.
For wood bucks embedded in masonry openings, check the wood for rot, compression, or separation from the surrounding block. A buck that has pulled away from the block transfers no load. A rotted buck will not hold a fastener at rated pullout.
Step 4: Test for Moisture and Existing Water Damage
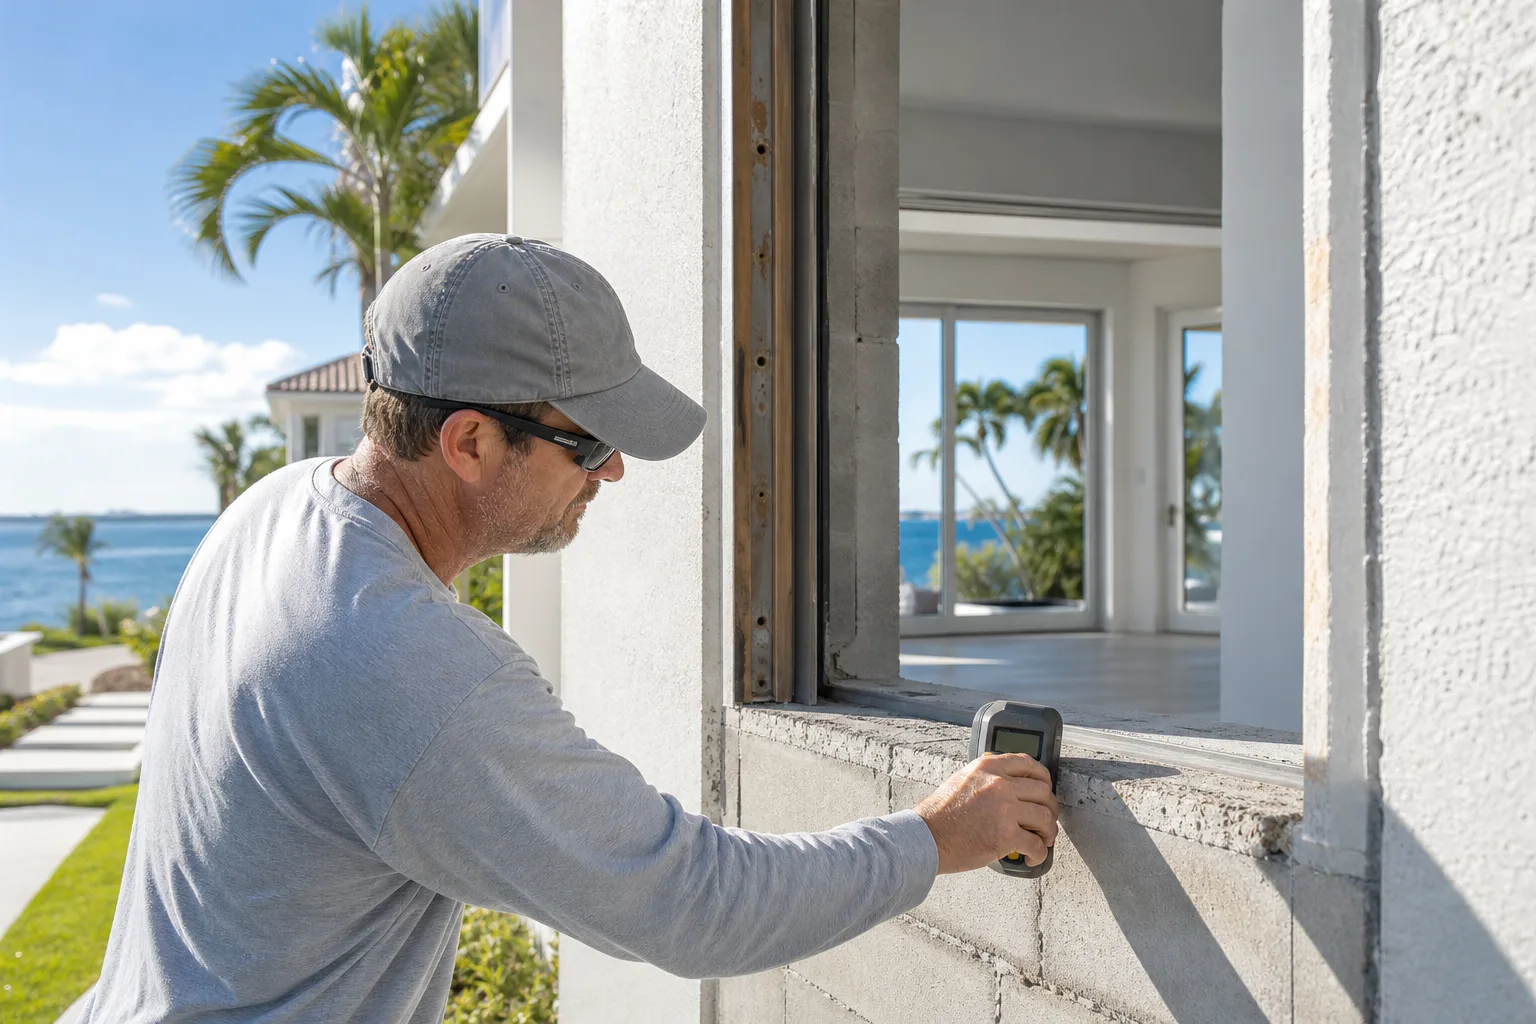
South Florida's humidity and wind-driven rain mean moisture problems are common around existing window openings, especially in homes where the original window was not properly flashed or sealed. Use a moisture meter on the sill, jambs, and surrounding wall area.
Readings above the threshold for the substrate material (consult your meter's documentation for material-specific benchmarks) indicate active moisture or previous saturation. Installing over wet or damaged substrate traps moisture behind the new frame, which accelerates corrosion on aluminum frames and promotes mold growth in wall cavities.
If the stucco or exterior cladding around the opening shows cracking, staining, or efflorescence, probe further before proceeding. These are surface indicators of water migration paths that need to be corrected as part of the installation scope, not after.
Compare impact-window options for your project. Request a free estimate
Step 5: Verify the Head and Sill Conditions
The head (top) of the opening takes the most wind-load transfer. Check that the lintel or header is intact, properly bearing on its supports, and free of cracking that suggests structural movement. A cracked or deflecting lintel changes how the installed frame behaves under load.
The sill (bottom) is the primary water management plane. Check that it slopes or drains away from the interior. Flat or reversed sills pond water against the frame and through the wall assembly. The installation detail for the sill flashing must match the actual sill condition found on site, not the generic detail on the drawing.
Step 6: Check Clearances for the Installation Method
Impact windows installed under Florida Building Code require specific edge distances for anchors and specific clearance from the frame to the rough opening. These values come from the product's Florida Product Approval and the manufacturer's installation instructions, which are permit documents.
Confirm that the rough opening provides enough room for the specified anchor pattern without anchor locations landing on block voids, mortar joints, or the edge of a lintel. If the anchor layout cannot be achieved as specified, that is a field condition requiring an engineer or product manufacturer review before proceeding.
See 6 things you need to know before you install hurricane impact windows for more on approval and installation documentation requirements.
Step 7: Document Everything Found
Write down or photograph every condition noted: dimensions at each measurement point, moisture readings, substrate conditions, any damage found, and any deviation from the approved drawings. This documentation serves three purposes.
First, it protects the installer if a pre-existing condition is later disputed. Second, it supports a change-order conversation with the homeowner if remediation work is needed before installation can proceed. Third, it gives the building inspector a record that conditions were assessed before the product was set.
Physical or digital job photos timestamped before installation begins are the most defensible record.
Common Mistakes
Measuring only once. Openings in masonry construction are rarely perfectly rectangular. A single measurement at center can miss the governing minimum at the corners.
Skipping the moisture check on dry days. An opening that looks dry after a week of no rain can still have elevated moisture readings from earlier saturation. The meter reading matters more than visual appearance.
Assuming the existing buck is serviceable. In homes built in the 1970s and 1980s, embedded wood bucks are frequently rotted or compressed. Probing costs minutes. Discovering a failed buck after the window is set costs days.
Not checking anchor locations against the substrate map. Setting anchors into block voids or compromised mortar joints produces fasteners that look installed but do not meet pullout requirements. This is a building inspection failure and a wind-load failure waiting to happen.
Treating the rough opening inspection as optional when a permit is pulled. The inspector does not verify substrate condition before the frame goes in. That responsibility sits with the installer.
For more on avoiding installation errors, see 8 tips to ensure a flawless impact window installation.
Bottom Line
A rough opening inspection is not a formality. It is the point where the actual field condition is compared against the product ordered and the permit documents. Dimensions, substrate integrity, moisture, and anchor clearances all have to work together before a compliant, weather-tight installation is possible.
In South Florida's climate, skipping or rushing this step produces callbacks, failed inspections, and water damage that costs far more than the time the inspection takes.
If you are planning an impact window or impact door replacement in Palm Beach, Broward, Miami-Dade, Martin, or St. Lucie County and want a contractor who documents field conditions before installation begins, request an estimate or contact us to discuss your project scope.
Compare impact-window options for your project.
Request a written estimate that identifies the quoted assembly, opening, design pressure, product approval, exposure, installation scope, and applicable project requirements.
Frequently asked questions
Who is responsible for inspecting the rough opening before an impact window installation?
The installing contractor is responsible for assessing field conditions before the product is set. Building inspectors typically verify the finished installation against the permit documents, not the pre-installation substrate condition. That pre-installation review sits with the licensed installer.
Does a rough opening inspection change the project cost?
It can, if the inspection reveals conditions that require remediation before installation, such as a rotted buck, compromised block, or water-damaged substrate. Those conditions are typically addressed through a change order once documented. Discovering them before installation is always less expensive than discovering them after the window is set.
How do moisture readings affect whether installation can proceed?
Elevated moisture readings in the substrate or surrounding wall indicate that the opening is not in a condition to receive a new window without risk of trapping moisture and accelerating corrosion or mold growth. The specific threshold depends on the substrate material and the moisture meter being used. Project-specific decisions about acceptable moisture levels should be made by the licensed contractor reviewing the actual field conditions.
Can rough opening problems be fixed after the window is already installed?
Some issues, such as exterior caulking gaps, can be corrected after installation. Structural substrate problems, rotted bucks, and out-of-tolerance dimensions generally cannot be properly addressed without removing the installed window, which multiplies labor cost and risks damaging the product. Finding and fixing these conditions before installation is the lower-cost path in every case.