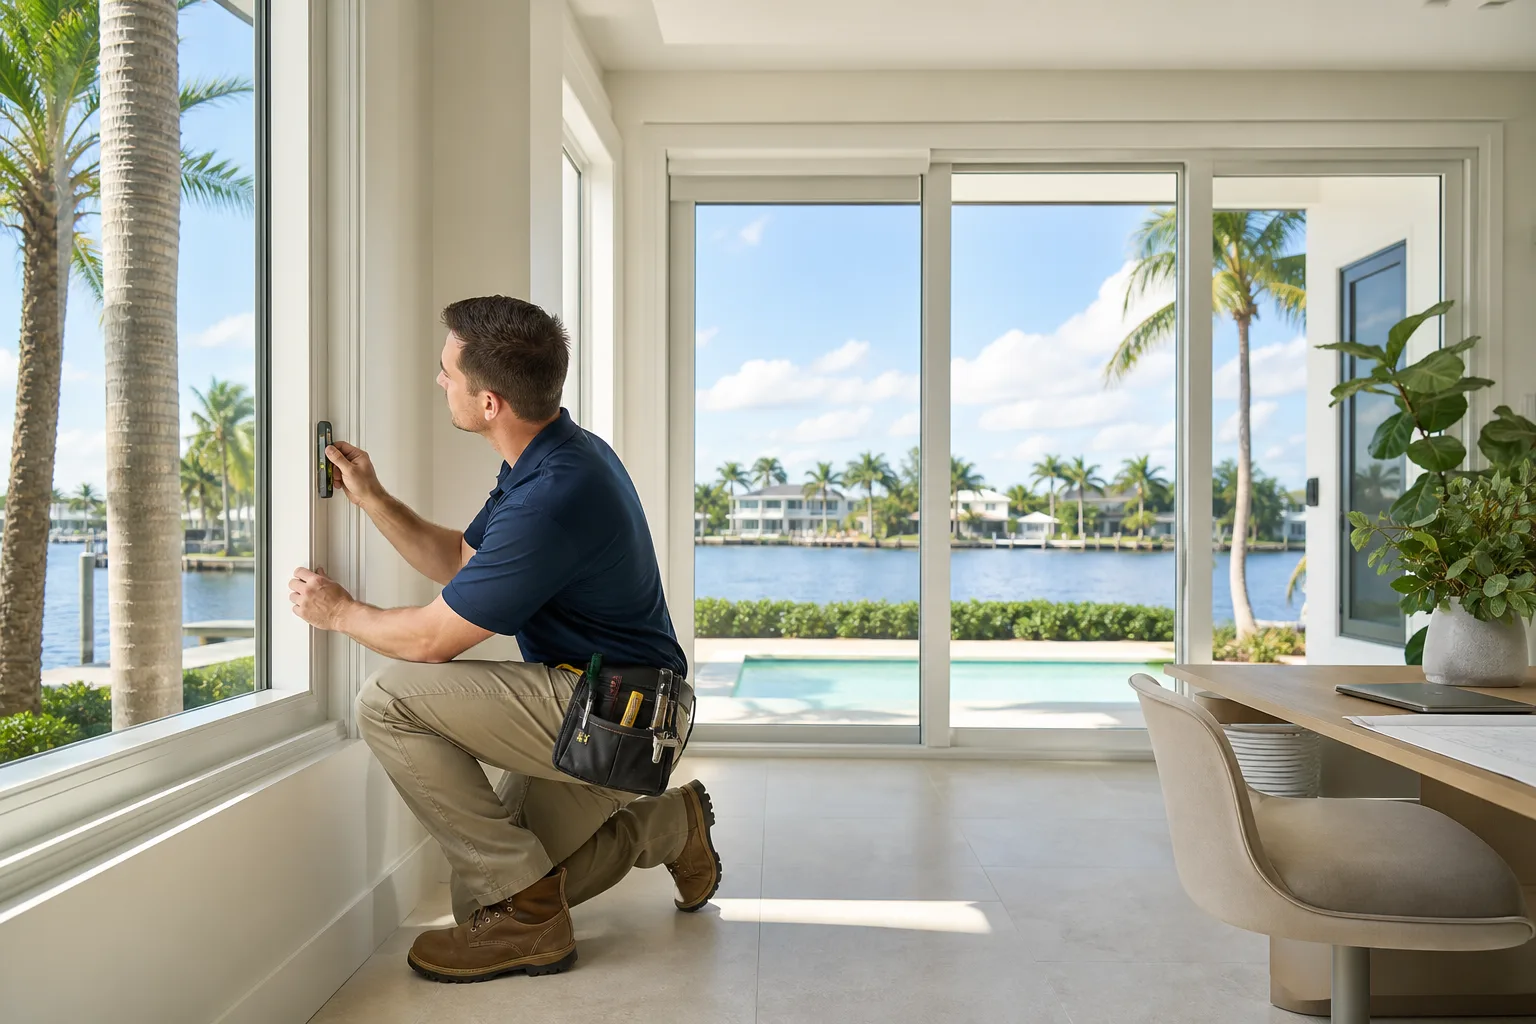
TL;DR: A Florida window replacement permit typically requires a rough-in inspection before installation is completed and a final inspection after all work is done. Inspectors verify that the window products match the approved permit documents and that the installation meets the applicable building code. A failed inspection delays occupancy sign-off and can trigger required corrections.
What You Need
Before the first inspector arrives, the following items should be in order. Gaps in any of these commonly cause same-day inspection failures.
- Issued building permit. The permit card or its electronic equivalent must be accessible at the job site.
- Approved permit documents. These include the product approval numbers, any engineering or manufacturer installation instructions referenced in the permit, and shop drawings if the jurisdiction required them. See our guide to reviewing shop drawings before approval for what those documents typically contain.
- Product labels on the windows. Most jurisdictions require the Florida Product Approval label to remain on the unit until the inspector can verify it. Removing labels early is a common cause of inspection holds.
- Clear site access. Inspectors are not required to wait for materials to be moved. If access to the window openings is blocked, the inspection is typically rescheduled at your cost.
Step 1: Submit the Permit Application
The contractor submits a permit application to the local building department, which in South Florida may be a county office (Miami-Dade, Broward, Palm Beach) or a municipal office depending on where the property sits. The application includes the scope of work, the Florida Product Approval numbers for each window or door product, and any required engineering documents.
Miami-Dade County has its own Notice of Acceptance (NOA) system that runs parallel to the statewide Florida Product Approval system. Products used in Miami-Dade must carry a current NOA in addition to meeting other code requirements. This is a documented requirement, not a contractor preference.
Once the permit is issued, work can legally begin. Starting work before permit issuance is a code violation that can result in stop-work orders and double-fee penalties.
Step 2: Rough-In or Frame Inspection
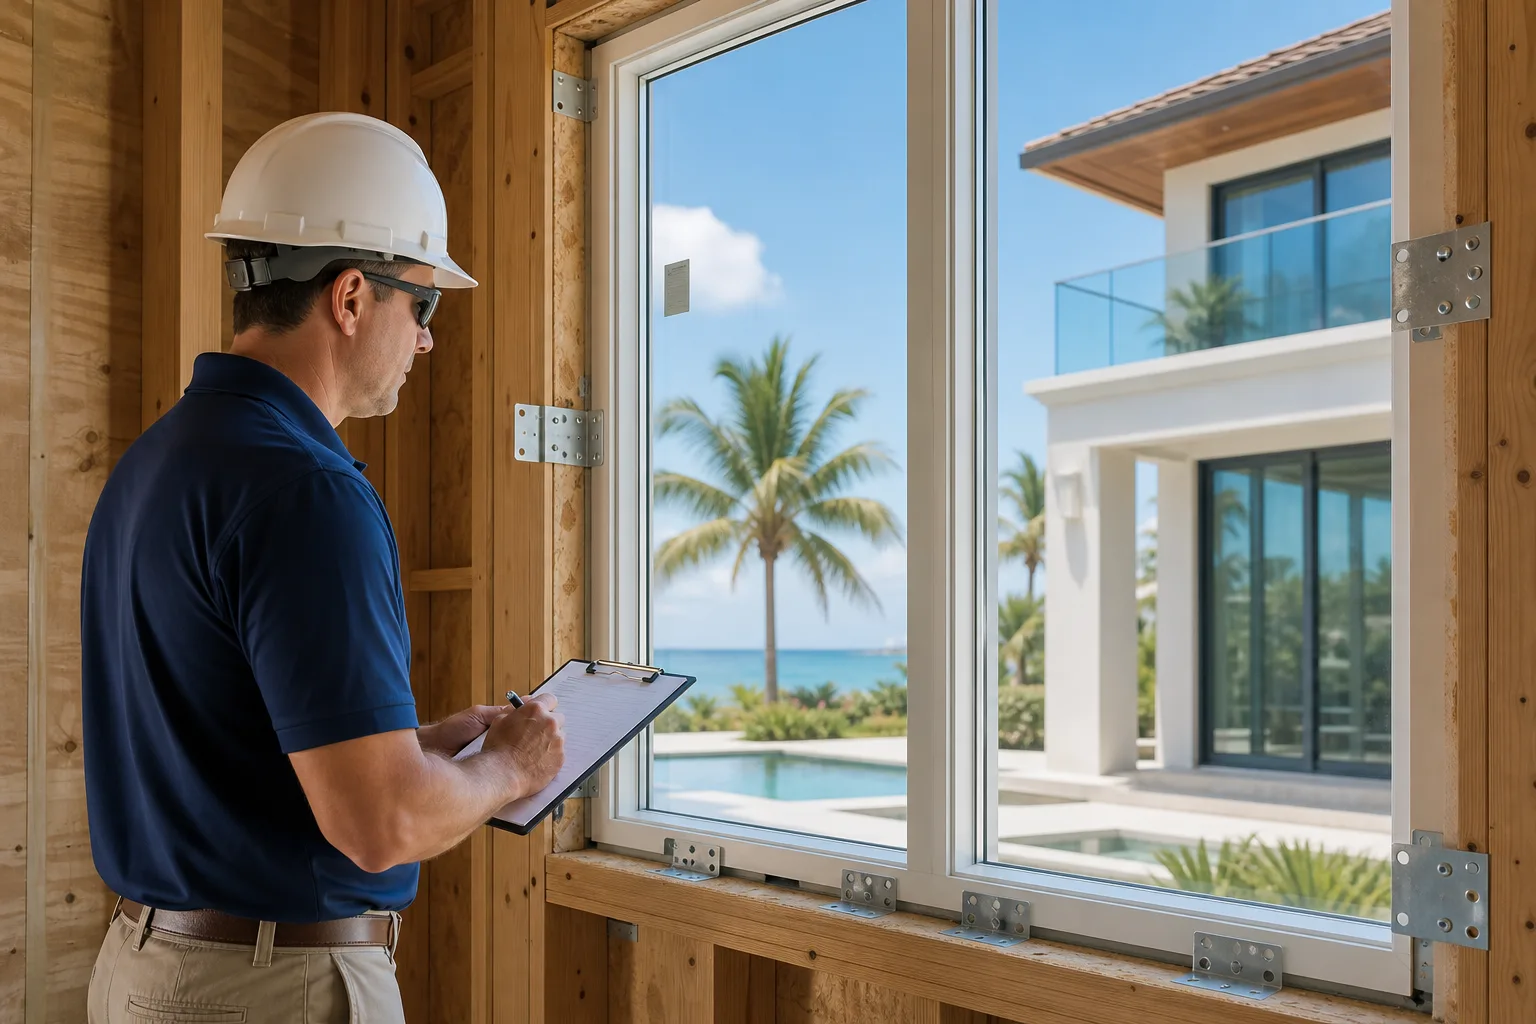
The rough-in inspection (sometimes called the frame or opening inspection) happens after windows are set in place but before the final sealing, flashing, stucco patching, or interior trim is complete. The inspector needs to see the window frame, the rough opening, and the fastening.
What inspectors typically check at this stage:
- Product approval label. The label on the unit must match the product listed on the approved permit.
- Rough opening condition. The opening dimensions and substrate must be consistent with the installation instructions for the approved product.
- Anchor spacing and type. Florida building code specifies minimum fastener requirements. The actual required spacing depends on the product's approval documents and the wind load zone for that address. Inspectors compare the installed fasteners against the approved documents, not a generic standard.
- Buck or frame condition. For masonry openings, the buck material and its attachment to the masonry are reviewed. For wood-frame construction, the opening framing condition matters. These variables are project-specific and must be addressed in the permit documents before work starts.
If the rough-in inspection passes, the inspector signs off and the contractor can proceed with weatherproofing, sealing, and interior finishing.
Step 3: Corrections If the Rough-In Fails
A failed rough-in inspection generates a correction notice listing the specific deficiencies. Common deficiencies include:
- Missing or removed product approval labels
- Fastener spacing that does not match the approved installation documents
- Use of a product that differs from what was approved on the permit
- Rough opening substrate damage that was not disclosed or addressed in the permit scope
The contractor must correct each item and call for a re-inspection. Re-inspection fees vary by jurisdiction. In some counties, multiple failed inspections can trigger a supervisor review, which adds further delay.
Substituting a different window product mid-project, even one that seems similar, requires a permit revision. Installing an unapproved substitution and hoping the inspector does not notice is not a workable strategy; product approval numbers are checked against the permit record.
Compare impact-window options for your project. Request a free estimate
Step 4: Final Inspection
Once all windows are installed, sealed, and finished, the contractor requests a final inspection. This is the inspection that closes the permit.
Inspectors at final typically verify:
- All permitted openings are complete. If the permit covered ten windows, all ten must be installed and finished before final sign-off.
- Weatherproofing and sealant. Exterior sealing must be continuous and properly applied per the product installation instructions.
- Interior finishing that does not conceal a deficiency. If interior trim was applied over a visible gap or missing fastener, an inspector may require trim removal to verify the installation behind it.
- Permit card or electronic record. Some jurisdictions still require the physical permit card to be signed at final.
A passed final inspection means the permit is closed. The building department records the closure, which is what satisfies lenders, insurance carriers, and future buyers that the work was done under permit and inspected.
Step 5: Obtain the Closed Permit Record
After final sign-off, obtain documentation that the permit is closed. This is separate from the permit itself. Many homeowners assume a passed inspection automatically updates all records, but retrieval is sometimes manual.
- Request a copy of the final inspection sign-off from the building department.
- Confirm the permit status shows "closed" or "finaled" in the jurisdiction's online portal if one exists.
- Retain these records with your homeowner documents. Open permits on record are a well-documented issue in Florida real estate transactions.
If you are unsure whether a prior window replacement on your home was properly closed, a title search or building department records request will show permit history.
Common Mistakes
Scheduling final inspection before all openings are complete. If even one window on the permit is not finished, the inspector cannot sign off on the final. The visit is wasted, and a re-inspection fee applies.
Removing product approval labels before inspection. Labels must remain on the unit until the inspector verifies them. This is one of the most avoidable inspection failures.
Ordering a product substitution without a permit revision. Lead times sometimes change after a permit is issued. Substituting a different brand or series without revising the permit puts the entire project at risk of a stop-work order.
Assuming the contractor filed for the permit. In Florida, the licensed contractor is responsible for pulling the permit, but homeowners should confirm the permit number and its issued status before installation begins. Unlicensed contractors sometimes skip this step entirely. See why DIY impact window installation carries specific risks for related context.
Starting work on adjacent finishes too quickly. Patching stucco or applying interior trim before the rough-in inspection passes may force removal of those finishes for re-inspection access.
Bottom Line
The Florida permit inspection process for window replacements has two required checkpoints, rough-in and final, and both must pass before the permit closes. The inspection sequence exists to verify that installed products match approved documents and that fastening meets the wind load requirements for the specific property. Preparation, correct product labeling, and accurate permit documents are the practical variables that determine whether inspections pass the first time.
If you are planning a window or door replacement in South Florida and want to understand how permitting fits into your project scope, request an estimate or visit our window replacement services page to start the conversation. Project-specific permitting requirements, product approvals, and engineering details must be reviewed for your exact address and scope.
Compare impact-window options for your project.
Request a written estimate that identifies the quoted assembly, opening, design pressure, product approval, exposure, installation scope, and applicable project requirements.
Frequently asked questions
Who schedules the permit inspections, the homeowner or the contractor?
In Florida, the licensed contractor who pulled the permit is typically responsible for scheduling inspections with the local building department. Homeowners should confirm the inspection schedule with their contractor and ask for the inspection results in writing after each visit.
How long does the permit inspection process take from start to final sign-off?
The timeline depends on the jurisdiction's inspection scheduling availability, how many windows are being replaced, and whether any corrections are required. Some jurisdictions offer next-day inspection scheduling; others have multi-week backlogs. Correction cycles add additional time that is difficult to predict before work begins.
Can I schedule my own inspections if the contractor is slow to do so?
In most Florida jurisdictions, only the permit holder (the licensed contractor) can request inspections tied to their permit. If a contractor is unresponsive, contacting the local building department directly can clarify who has authority to schedule and what options exist if the contractor has abandoned the project.
Does a closed permit guarantee the work meets current code?
A closed permit means the work passed inspection under the code in effect at the time of the permit application. If code requirements have changed since then, a future project at the same property would be required to meet updated standards. The closed permit is not a warranty of workmanship or materials.